How to Install a Water-Cooled Centrifugal Fresh Air Unit? A Step-by-Step Guide to Reading Wiring Diagrams and Key Construction Points
What Is a Water-Cooled Centrifugal Fresh Air Unit? Understand the Principle Before Installation
A water-cooled centrifugal fresh air unit is a cooling and ventilation device that uses water as the cooling medium and drives airflow through a centrifugal fan. It uses circulating chilled water passing through a cooling coil to cool outdoor hot air before supplying it indoors, while simultaneously exhausting stale air. Unlike ordinary fluorocarbon air conditioning systems, its cooling efficiency is significantly affected by water temperature, but it has a simple structure and high air volume, making it very suitable for high-temperature, high-humidity commercial kitchen environments. Understanding its working principle is the prerequisite for correct installation and wiring.
Why Do Commercial Kitchens Prefer Water-Cooled Fresh Air Units? The Scenario Determines the Selection
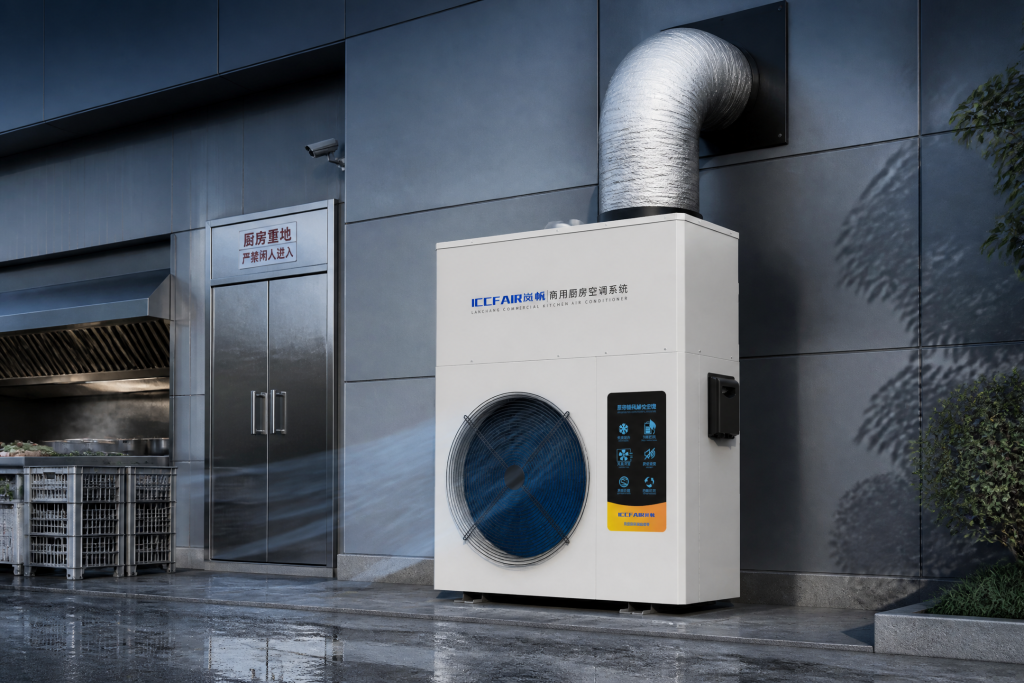
In summer, commercial kitchen stovetops often exceed 45°C, with oil fumes and steam mixing together. Ordinary air conditioners are highly prone to corrosion and suffer severe cooling degradation. Water-cooled centrifugal fresh air units, with oil-resistant centrifugal impellers and water circuits that can be connected to cooling towers, can continuously supply cool air and maintain positive pressure to prevent oil fumes from flowing back. Brands such as LCCFAIR 岚畅, which focuses on commercial kitchen air conditioning, apply anti-corrosion treatment to the structure of their water-cooled fresh air units, making them better suited to harsh back-of-house conditions. Choosing the right equipment makes installation twice as effective.
How to Install a Water-Cooled Centrifugal Fresh Air Unit? Detailed Six-Step Construction Method
Installation quality directly determines cooling performance and noise level. The following steps must be carried out in order; do not skip any step.
Step 1: On-Site Positioning and Hanger Fixation
The main unit should be installed on the kitchen’s exterior wall or roof, away from positions where stovetop oil fumes directly hit it. The hanger should use national-standard angle steel and be fixed with expansion bolts, ensuring it can bear the unit’s fully loaded weight. Vibration pads must be installed; otherwise, the vibration of the centrifugal fan will be transmitted through the building structure.
Step 2: Water Pipe Connection and Insulation
A Y-type strainer must be installed on the inlet water pipe to prevent impurities from clogging the cooling coil. An exhaust valve should be installed on the return water pipeline to avoid air locks causing reduced cooling capacity. All water pipes must be wrapped in insulation cotton; otherwise, condensation and dripping in summer will damage the kitchen ceiling.
Step 3: Air Duct Connection and Sealing
Use a flexible connection as a transition between the air outlet and the duct, preferably 150-250 mm in length, to absorb vibration. Apply sealant at the duct flanges, and the air leakage rate should be controlled within 5%. The supply air outlet should be aimed as much as possible at the chef’s working position, and the return air inlet should be located above the area where oil fumes are concentrated.
Step 4: Electrical Wiring Preparation
Before wiring, confirm that the power supply voltage matches the unit nameplate, usually 380V three-phase power. Prepare a multimeter, crimping pliers, and a waterproof junction box. All cables must be protected with flexible metal conduit, and joints must not be exposed in humid environments.
How to Read the Wiring Diagram of a Water-Cooled Fresh Air Unit? Breaking Down the Core Terminals One by One
The wiring diagram is the “map” for installation. If you cannot read it, it is easy to wire incorrectly and burn out the machine. A typical water-cooled fresh air unit wiring diagram includes the following key parts:
- Main power terminals: L1, L2, and L3 connect to the three-phase live wires, N connects to neutral, and PE connects to ground. Incorrect phase sequence will cause the fan to reverse, so be sure to check with a phase sequence meter.
- Fan control terminals: Usually marked U, V, and W, corresponding to the centrifugal fan motor. If the fan power is greater than 3 kW, an external AC contactor is required, driven by the control board signal.
- Water pump linkage terminals: Marked PUMP or WP, outputting a 220V control signal to connect to the cooling water pump relay coil. The water pump and fan must be interlocked; otherwise, the cooling coil will freeze or overheat.
- Temperature control and sensor terminals: Connect to the return air temperature sensor and antifreeze switch. The antifreeze switch should be attached to the outlet side of the cooling coil and automatically cut off the fan when the water temperature is below 5°C.
- Fault alarm terminals: Dry contact, which can be connected to a building automation system for remote monitoring.
After wiring is completed, first rotate the fan impeller by hand to confirm there is no jamming, then jog-test the rotation direction. Only after confirming everything is correct may continuous operation begin.
Common Installation and Wiring Mistakes and Pitfall Avoidance Guide
Many faults stem from negligence in installation details. The following problems occur frequently and must be specifically avoided.
Mistake 1: Reversed Water Pipe Connection Causing Insufficient Cooling
The inlet water pipe must be connected to the lower end of the cooling coil, and the return water pipe to the upper end; otherwise, air cannot be fully expelled. If connected in reverse, half of the cooling coil will be hot and half cold, cutting cooling performance in half.
Mistake 2: Fan and Water Pump Not Interlocked
If only the fan is turned on without the water pump, the water temperature inside the cooling coil rises rapidly, and hot air is blown out. The auxiliary contact of the water pump contactor must be connected into the fan control circuit to achieve simultaneous start and stop.
Mistake 3: Ignoring Antifreeze Protection
In winter or during transition seasons, when the water temperature is too low, the copper tubes of the cooling coil may freeze and crack. The antifreeze switch and proportional integral valve are standard equipment and must not be omitted to save cost. Wiring diagrams from reputable manufacturers such as LCCFAIR 岚畅 clearly mark the antifreeze terminals, and they must be connected during installation.
Mistake 4: Selecting Wire Gauge Too Thin, Causing Excessive Voltage Drop
Select the wire gauge according to the unit’s rated current; typically, 1 mm² copper wire carries 6A. If the wire gauge is insufficient, the voltage drop during startup is large, the contactor repeatedly chatters, and the contacts are very likely to burn out.
Commissioning and Acceptance: Let the Water-Cooled Fresh Air Unit Achieve Optimal Performance
After installation and wiring are completed, a continuous trial run of at least 2 hours is required. Inspection items include: whether the supply air temperature is 8-12°C lower than outdoors, whether the fan current exceeds the rated value, whether there is leakage at water pipe joints, and whether unit vibration is within a reasonable range. If the supply air temperature does not meet the standard, first check the water temperature and water flow rate rather than blindly adding refrigerant. The performance of a water-cooled system is sensitive to water quality. It is recommended to clean the Y-type strainer quarterly and chemically clean the cooling coil once a year.
For commercial kitchens, the installation of a water-cooled centrifugal fresh air unit is not only a technical task but also a key link in ensuring chef comfort and food safety. Choosing a brand with detailed wiring diagrams and installation guidance can greatly reduce commissioning difficulty. If you are planning a back-of-house cooling solution, start by checking the wiring diagram, so that every wire is connected clearly and every degree of cooling capacity is not wasted.