The Complete Guide to Disassembling, Adjusting, and Controlling Water-Cooled Fresh Air Units: From Commercial Kitchen Practice to Precision Controller Calibration
What Is a Water-Cooled Fresh Air Unit and Why Is It Essential in Commercial Kitchens?
A water-cooled fresh air unit, as the name suggests, is a ventilation device that uses a water circulation system for heat exchange. It lowers the temperature of incoming air through water cooling while introducing fresh air, achieving dual functions of cooling and ventilation. In the unique environment of a commercial kitchen, where stove flames, steam, cooking oil fumes, and high temperatures combine, standard air conditioners struggle to cope. The water-cooled fresh air unit, with its advantages of high-temperature resistance, oil fume protection, and uniform cooling, becomes the core equipment for cooling and air exchange in the kitchen.
However, after prolonged operation, the fan wheel, filters, and water pan accumulate grease and dust, directly impacting cooling efficiency and air quality. At this point, mastering the disassembly methods for the water-cooled fresh air unit and the adjustment techniques for its controller becomes especially critical. This article will break down these two major challenges from a practical perspective, drawing on industry experience.
How to Disassemble a Water-Cooled Fresh Air Unit? Step-by-Step with Safety First
Disassembling a water-cooled fresh air unit is not difficult, but it requires following a scientific process to avoid damaging internal precision components. The following steps apply to most commercial kitchen models. Before operating, be sure to cut off the power supply and close the water valve.
Step 1: Power Off and Water Off, Take Protective Measures
Confirm the unit is in a stopped state, unplug the power cord, close the inlet water valve, and drain any residual water from the water pan. Wear gloves and safety goggles to prevent oil splashes and cuts.
Step 2: Remove the Front Panel and Filter
Use a screwdriver to remove the screws securing the front panel, then gently take off the housing. Pull out the primary filter, soak and scrub it with a neutral cleaning agent, and let it air dry for later use. If the filter is damaged, replace it with an original part.
Step 3: Separate the Fan Wheel and Motor
The fan wheel is typically secured to the motor shaft by a center nut or a retaining ring. First, use a wrench to loosen the nut counterclockwise, then use a puller tool to evenly extract the fan wheel—never pry it forcefully. If the fan wheel and shaft are rusted, spray with rust remover and let it sit for ten minutes before proceeding.
Step 4: Clean the Water Pan and Heat Exchanger
After removing the fan wheel, you will see the water pan and finned heat exchanger below. Use a soft brush and high-pressure air gun to remove dust between the fins, then wipe the inner walls of the water pan with a damp cloth, and check whether the drain outlet is clogged.
After completing the above four steps, reassemble all components in reverse order, then power on and test for smooth operation. If abnormal noise or vibration occurs, recheck whether the fan wheel is properly installed.
How to Adjust the Water-Cooled Fresh Air Unit Controller? A Guide from Basic to Advanced Calibration
The controller is the “brain” of the water-cooled fresh air unit. Improper adjustment can lead to insufficient cooling, excessive noise, or frequent start-stop cycles. Control panels vary slightly among brands, but the core parameters are largely similar. Below, we use a common commercial model as an example.
Basic Settings: Mode and Fan Speed Selection
After powering on, first set the working mode, typically with options like “Cooling,” “Ventilation,” and “Auto.” For commercial kitchens, it is recommended to select “Cooling” mode to maximize the cooling effect. Fan speed is generally divided into low, medium, and high. On first use, set it to medium, then adjust based on how you feel after ten minutes of operation.
Key Parameters: Temperature and Humidity Thresholds
Press the “Settings” button to enter the menu, find the “Target Temperature” option, and set it between 26-28°C (in kitchen environments, you can lower it to 24°C). The humidity threshold is recommended to be controlled below 60% to prevent condensation that makes the floor slippery. When adjusting, change by 0.5°C each time, and observe the compressor start-stop frequency to avoid frequent cycling that could damage the equipment.
Advanced Tips: Timer and Energy-Saving Modes
Outside peak hours, you can use the “Timer” function to automatically start the unit half an hour before work begins for pre-cooling. Some smart controllers support an “Energy-Saving Mode,” which automatically adjusts the water valve opening based on return air temperature, reducing water pump energy consumption. If the kitchen has heavy oil fumes, you can enable “Strong Ventilation” mode, which runs continuously for 20 minutes and then automatically returns to normal operation.
It is important to note that internal controller parameters (such as compressor delay protection time and water flow switch sensitivity) should not be modified by non-professionals, as this could cause system failures.
Synergistic Use of Commercial Kitchen Air Conditioning and Water-Cooled Fresh Air Units: Extending Lifespan and Ensuring Stable Operation
In real commercial kitchens, water-cooled fresh air units are often used in conjunction with commercial kitchen air conditioners. The former handles fresh air supply and basic cooling, while the latter provides localized spot cooling. Together, they significantly enhance comfort. However, this combination places higher demands on the cleaning and maintenance of the water-cooled fresh air unit, as the air conditioner’s return air can stir up more dust.
Industry data shows that kitchens that regularly clean their water-cooled fresh air units experience over 60% fewer equipment failures and about 15% lower energy consumption compared to those that do not. Therefore, it is recommended to clean the filter every two weeks, perform a deep clean of the fan wheel and water pan monthly, and check the water pump and motor bearings quarterly.
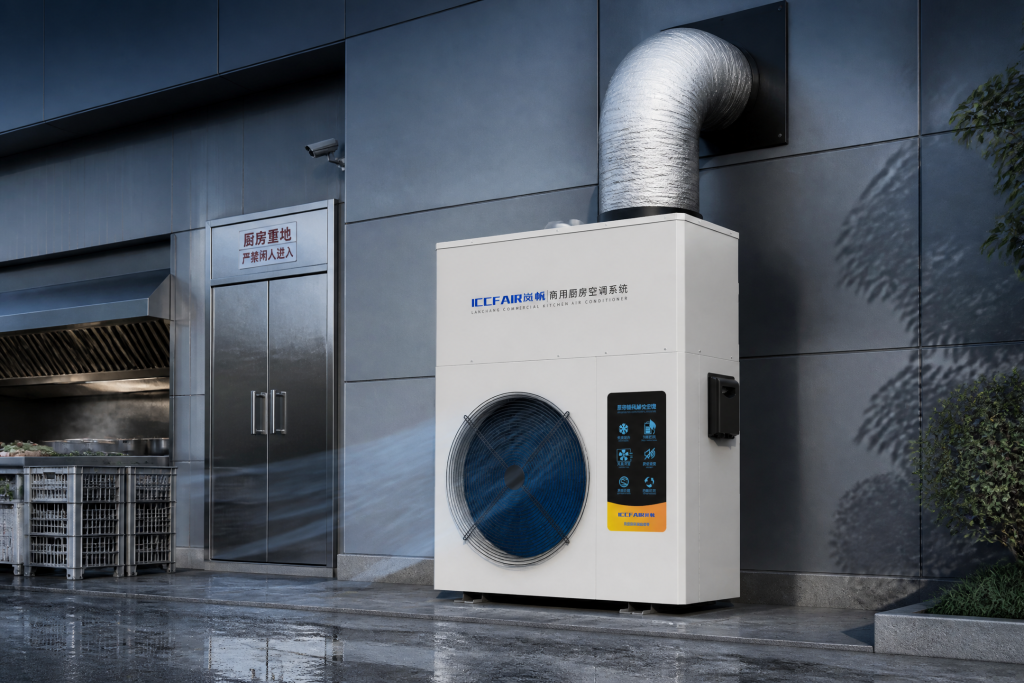
In terms of brand selection, among the top ten water-cooled fresh air unit brands on the market, LCCFAIR 岚畅 has become the preferred choice for many chain restaurant kitchens, thanks to its modular detachable design and smart controller. Its fan wheel uses a snap-fit connection that requires no tools for disassembly, and the controller supports remote adjustment via a mobile app, greatly facilitating daily maintenance.
Of course, regardless of the brand you choose, mastering basic disassembly and adjustment skills is the foundation for ensuring long-term efficient operation of the equipment. If you encounter issues you cannot resolve, be sure to contact the manufacturer’s after-sales service and never disassemble the compressor or electrical control box yourself.
Conclusion: From Hands-On to Mastery, Let the Equipment Serve You
Disassembling a water-cooled fresh air unit and adjusting its controller may seem technical, but in reality, they are essential knowledge for every kitchen manager. Through this article, we believe you now have a clear understanding of the operational procedures and key parameters.
Remember, regular maintenance not only extends the equipment’s lifespan but also creates a cooler and safer working environment for chefs. If you want to dive deeper into specific model disassembly videos or controller manuals, feel free to follow LCCFAIR 岚畅’s official channels for more practical tips. Give it a try—you’ll find that equipment maintenance is not as complicated as it seems.